Django_CRUD_Read
아무리 복잡한 애플리케이션이라도 4가지 안에 있다.
Create
Read
Update
Delete
이중 먼저 Read를 알아보자
myapp에 views.py 에 index함수에 html 파일을 써보자
def index(request):
    return HttpResponse('''
    <html>
    <body>
        <h1>Django</h1>
        <ol>
            <li>Create</li>
            <li>Read</li>
            <li>Update</li>
            <li>Delete</li>
        </ol>
        <h2>Welcome!</h2>
        Hello, Django
    </body>
    </html>
    ''')
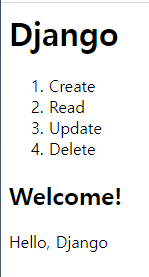
그리고 서버를 실행한 뒤 접속하면
다음과 같은 웹페이지가 보인다.
생성되는 리스트들을 topics라는 변수에 담아보자
topics = [
    {'id':1, 'title':'Create', 'body':'Create is ..'},
    {'id':2, 'title':'Read', 'body':'Read is ..'},
    {'id':3, 'title':'Update', 'body':'Update is ..'},
    {'id':4, 'title':'Delete', 'body':'Delete is ..'}
]
그리고 index 함수를 다음과 같이 수정한 뒤 다시 접속해보자
def index(request):
    global topics
    ol = ''
    for topic in topics:
        ol += f'<li>{topic["title"]}</li>'
    return HttpResponse(f'''
    <html>
    <body>
        <h1>Django</h1>
        <ol>
            {ol}
        </ol>
        <h2>Welcome!</h2>
        Hello, Django
    </body>
    </html>
    ''')
아마 이전과 동일한 화면이 나왔을 것이다.
다만 차이점이 있다면 이전에는 기존에 입력해놓았던 html을 출력해주는 것이라면
수정한 것은 함수에 의해서 생성되는 것이다.
여기에 링크를 걸어보자 (ol에 a태그를 추가한다.)
ol += f'<li><a href="/read/{topic["id"]}">{topic["title"]}</a></li>'
접속해보면 링크가 생성되었고
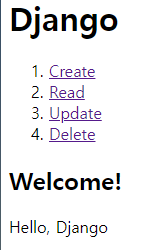
해당 링크를 클릭해보면 Read함수에 의해 각기 다른 페이지와 주소로 들어가게 된다.
index의 html 생성코드를 함수화 해보자
def HTMLTemplate():
    global topics
    ol = ''
    for topic in topics:
        ol += f'<li><a href="/read/{topic["id"]}">{topic["title"]}</a></li>'
    return f'''
    <html>
    <body>
        <h1>Django</h1>
        <ol>
            {ol}
        </ol>
        <h2>Welcome!</h2>
        Hello, Django
    </body>
    </html>
    '''

def index(request):                     # html생성코드들을 함수화 하였고
    return HttpResponse(HTMLTemplate()) # 그 함수를 리턴값으로 입력해준다
동일한 결과를 얻는다.
이 부분도 옮겨 보자.
def HTMLTemplate(articleTag): # 3. 파라미터로 받는다
    global topics
    ol = ''
    for topic in topics:
        ol += f'<li><a href="/read/{topic["id"]}">{topic["title"]}</a></li>'
    return f'''
    <html>
    <body>
        <h1>Django</h1>
        <ol>
            {ol}
        </ol>
        {articleTag} # 4. 받은 값을 입력해준다.
    </body>
    </html>
    '''

def index(request):
    article = '''     # 1. 인덱스 함수안으로 옮기고
    <h2>Welcome!</h2> # 알아보기 편하게 멘트를 수정해주었다.
    This is Home.
    '''
    return HttpResponse(HTMLTemplate(article)) # 2. HTMLTemplate함수의 인자로 전달하면
이제 HTMLTemplate의 articleTag 부분에 새로운 변수들을 대입하여
계속해서 재사용할 준비가 되었다.
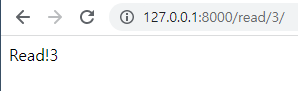
이제 Read를 구현해보자
def read(request, id):
    global topics
    for topic in topics:               # for문을 돌려 나온 topic의 id값과
        if topic['id'] == int(id):     # 현재 입력받은 id값이 일치하면
            article = f'''             # article을 생성하여
            <h2>{topic['title']}</h2>
            {topic['body']}
            '''
            return HttpResponse(HTMLTemplate(article)) # 리턴해준다
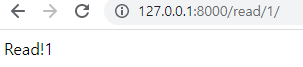
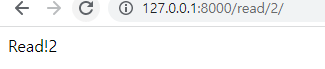
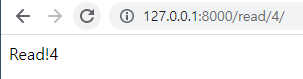
실행해보면
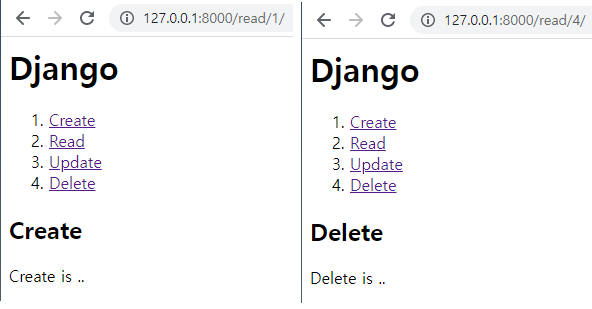
home 부분만 변경되어 각각의 새로운 페이지로 바뀌는 것을 볼 수 있다.
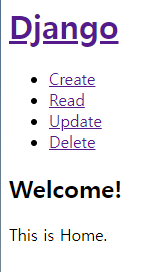
이제 Django를 클릭했을 때, 홈 화면으로 가도록 설정하면
Django를 클릭하면 홈으로 가고, 항목을 선택하면 상세보기로 가는
웹사이트가 탄생한다.
<h1><a href="/">Django</a></h1> # h1에 a태그를 추가하면 된다
이러한 방법이 위대한 이유는
1억 개의 항목들이 있다고 가정했을 때,
그리고 누군가 항목을 숫자가 아닌 점으로 표시하라고 말한다면
def HTMLTemplate(articleTag):
    global topics
    ol = ''
    for topic in topics:
        ol += f'<li><a href="/read/{topic["id"]}">{topic["title"]}</a></li>'
    return f'''
    <html>
    <body>
        <h1><a href="/">Django</a></h1>
        <ul>       # ul로 수정
            {ol}
        </ul>      # ul로 수정
        {articleTag}
    </body>
    </html>
    '''
body안의 ol을 ul로 단 2글자만 수정하면 된다.
Youtube 생활코딩님의 수업 영상을 보고 복습을 위해 작성한 글입니다.